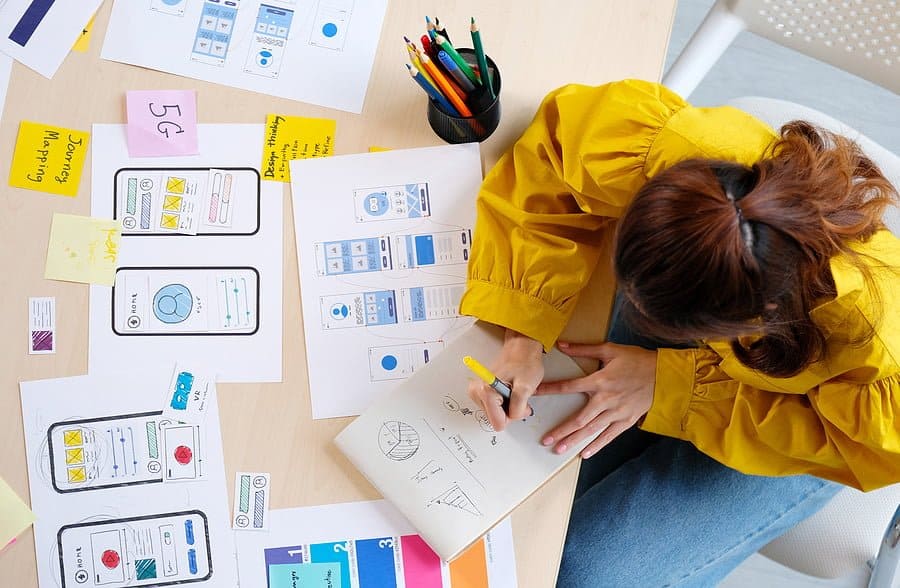
UI Design animation? Yes!
Table of Contents
ToggleConcept art is when you’re drawing up designs for a company logo, or some other thing that your company needs like a presentation. However, UI (User Interface) animation takes concept art to a whole new level by incorporating motion, manipulation, transitions, etc. Whether you use software like Adobe After Effects or InVision to do the job, UI animation is a valuable asset to your company.
The good news is, you can utilize UI design without the need for a professional designer. With UI design, the possibilities are endless, and it’s easy just as long as you remember that your designs need movement.
Why Conceptual Animation in UI Design?
Regardless if your project is building an app or designing a logo, UI design can play a part in them. If they’re just normal apps or logos with static designs, then UI animation may not be for you. However, if you want to break away from the tired, cookie-cutter design, then UI design is the way to go!
And although creating UI animation might seem scary at first, it’s worth the experience, because it paves the way for new ideas to generate within your company. Most companies love to try out new ideas, which is why developers (established consultants, freelancers, etc.) are in high demand in today’s job market. As a result, companies will be able to grab people’s attention with good-quality animations.
This article will show you step-by-step on how to animate using UI design and how it will benefit your business.
STEP ONE: Visual Research
Don’t be afraid to find inspiration from art and design books, magazines, and online images. You can also go to art galleries, museums, landmarks, or even a retail store.
Online resources like LogoLounge, Muzli, and Dribbble let you browse through different logos and designs created by designers worldwide.
STEP TWO: Art Direction
Once you gain inspiration from visual research, you’ll need to jot down possible themes, visual ideas, and feelings, and then create a plan for how you want the animation to commence. The goal here is to have a clear idea of what the trend is, and who you’re appealing to (the audience). The software Sketch is a great way to conduct art direction.
STEP THREE: Gathering Ideas
Once you have a sense of where to take the animation, now would be a good time to brainstorm relevant concepts, and limiting your options to one or a handful of ideas.
Ideas can come from multiple avenues:
- Writing a list of descriptive words or phrases
- Sketching a number of things in under a few minutes
- Typography – playing with letters and text fonts
As you brainstorm, you’ll see one idea lead to another; and then, you’ll soon conceive the ultimate idea for your project.

STEP FOUR: Sketch
Whether you’re good at drawing, or a novice to it, your sketches can be a valuable asset to designing a logo, a presentation, etc. Don’t focus on making the sketch perfect – perfection comes in the refining process, not the sketching process.
STEP FIVE: Refine Digitally
Once you have your idea(s) sketched, then it’s time to use this “blueprint” in illustrating software like Adobe Illustrator. Packed with useful tools, as well as tutorials in Basic Shapes, the Align Tool, the Pathfinder, the Shape Builder (where the Pathfinder lacks), and the Pen Tool, Illustrator makes creating vector format graphics and art files effective and easy.
STEP SIX: Adding Color
Clients want to see colors that are simplistic, but also harmonious, along with high contrast. Though, when working with colors, make sure that you have the right amount of lighting and shadows and be ready for additional adjusting afterward. Also, use the colors black and white wisely, so that the two don’t overwhelm the animation.
Online resources like Ctrl+Paint, Adobe Color CC, and Pinterest can help you find inspiration on the types of color schemes you want to use.
STEP SEVEN: Organize And Deliver
Finally, you’ll need to have your project saved as a file, and have it easy for your coworkers and supervisor to access via Dropbox, Google Drive, etc. with proper labels. Also, consider the file format when sending your project to other personnel: Print (EPS, AI, PDF, and AI), Web (for example, GIFs), JPEG, PNG, etc.
Beware the Downsides
The last thing you want to do is show off a faulty animated project to your company. Everything has to be accounted for in your project:
- Shadows/Lighting
- Colors
- The speed of the animation
- The assurance that you’ve followed the company’s budget for the project
If any of these (or all of them) fall flat, then fix them right away.
And, if you’re having trouble anywhere in your project, you may want to consult a moving animation specialist or team to help you out (But again, make sure that you have the budget for additional help).
Conclusion
Although UI animation design might not be for everyone, it’s still worth considering if you want to animate something or make your logo design shine. So, step out from the old designs, and create something new with UI design!
Summary:
UI Design for Businesses
UI (User Interface) animation takes concept art to a whole new level by incorporating motion, manipulation, transitions, etc. Whether you use software like Adobe After Effects or InVision to do the job, UI animation is a valuable asset to your company. Step-by-step on how to animate using UI design and how it will benefit your business. STEP ONE: Visual Research. STEP TWO: Art Direction. STEP THREE: Gathering Ideas. STEP FOUR: Sketch. STEP FIVE: Refine Digitally. STEP SIX: Adding Color. STEP SEVEN: Organize And Deliver.


